

If you haven’t noticed yet, I’ve been on a total Canva kick these past few weeks.
I know I’m not the only one that can get endlessly lost in creating teaching resources for hours on end. Sometimes I go to create just one quick worksheet or poster and end up with 20 different design options four hours later.
There’s just something so fun about letting your creativity run free because all the ideas come pouring out once you get going.
- “Ooooh, maybe I can make an event poster for next week’s choir performance.”
- “Ooooh, I can totally just make a few worksheets quickly.”
- and so on and so forth…
Anyone else like that?
Anyway, while I’m spending hours rummaging through Canva and all its little buttons and features, I stumbled upon a few cool tricks that I wanted to share with you all today in this blog post!
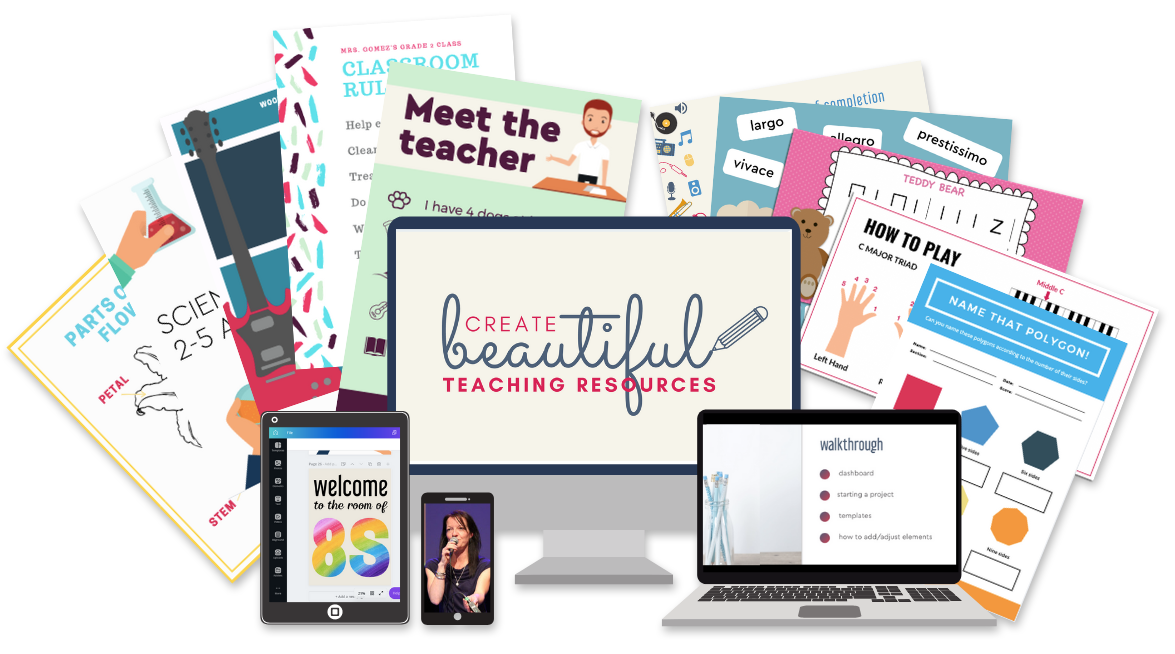
But before I jump straight into that, I’ve got a super exciting announcement to share. I’ve been behind the scenes working away at a little fun project that I’m excited to share with you all. It involves the tool, Canva, and creating beautiful teaching resources quickly for your classroom.
If you’re someone who loves creating beautiful teaching resources or someone wanting to get into creating classroom resources but not sure where to begin with it…
I’m so excited to announce that the waitlist for my new course “Create Beautiful Teaching Resources, Fast” is officially open! You can join here to get early access as well as a fun bonus.
And without further ado… here are some fun and less known tricks for using Canva as a teacher creating classroom resources!
1. The “Show all from this Set” button!
Have you ever been creating a resource of some kind and found the perfect style of icon or visual that you wanted to add… but NOT been able to find any other icons in that specific style?
Ugh, I’ve been there.
Recently, I was looking for some flower icons for my worksheet designs and found this perfect style of flower I wanted to use.
This one:
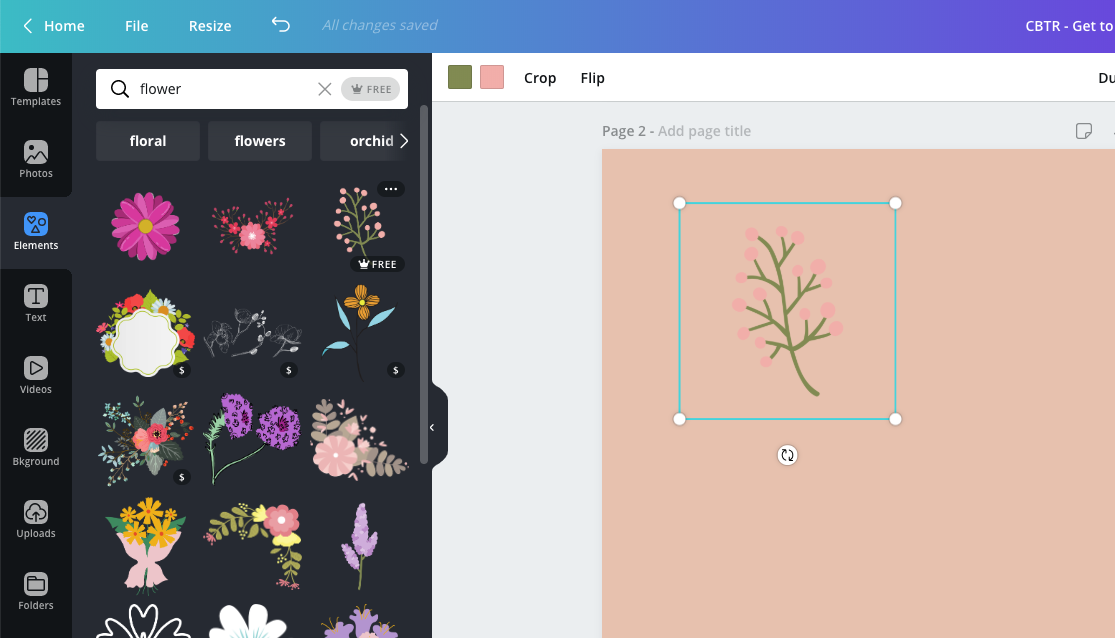
But no matter what keywords I used, I could NOT figure out where other similar types of flowers would be.
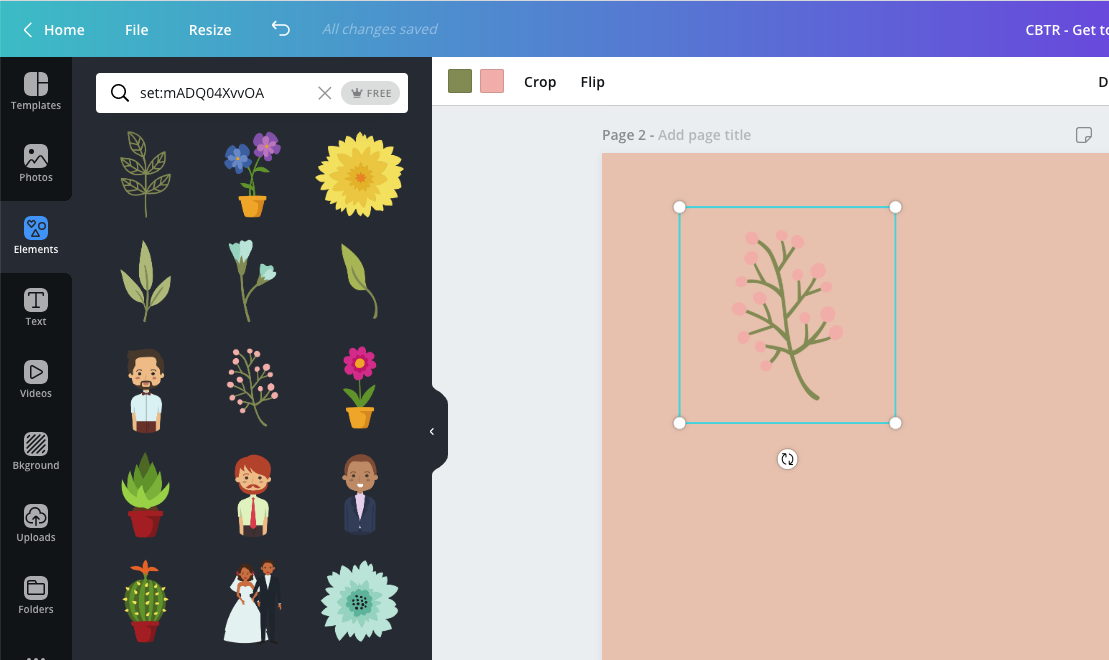
Fear not because I have happy news! Canva has recently put in a new little feature that allows you to see all items from a set.
You can find that option here:

And ta-da!
Here is the full set that has all the similar flowers that I can now use!
2. Uploading your own images
If you’re not finding the perfect image for your design and you’ve looked through the entire Canva library.
No worries! Did you know you can find your own images elsewhere and import them into Canva?
Here are a few of my favorite sites for royalty-free images!
Find an image you like on one of those pages, download it to your computer and just drag it into Canva.
Like magic, you can now use that image within your design!
3. Sharing a template
Another great way to use Canva with others or to share something with your students is to create a template and share it as a template!
That means, you can create a worksheet or a poster template yourself, share a link to that file and your students or colleagues can edit their own copy of your template without changing your original template!

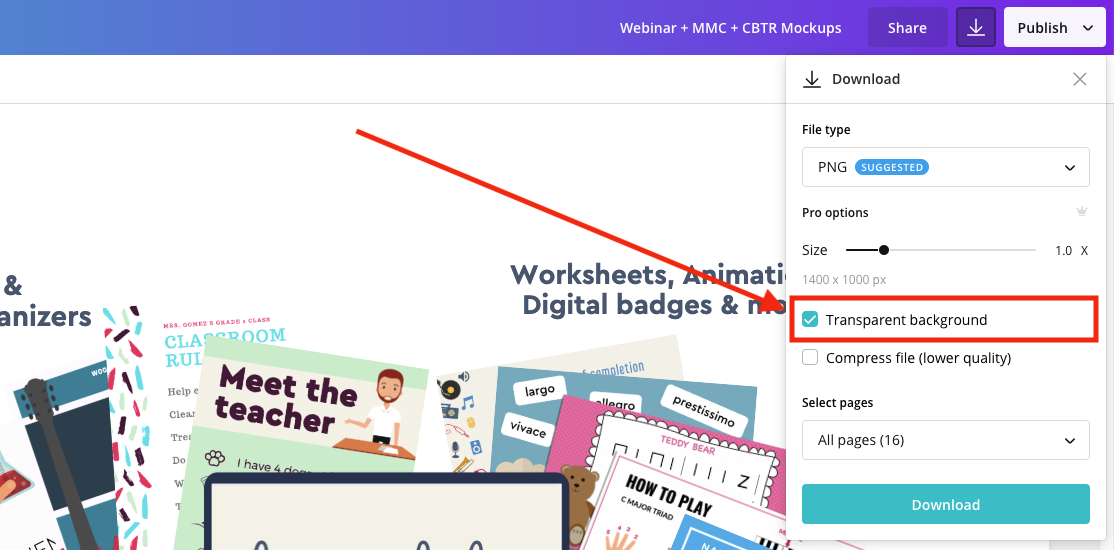
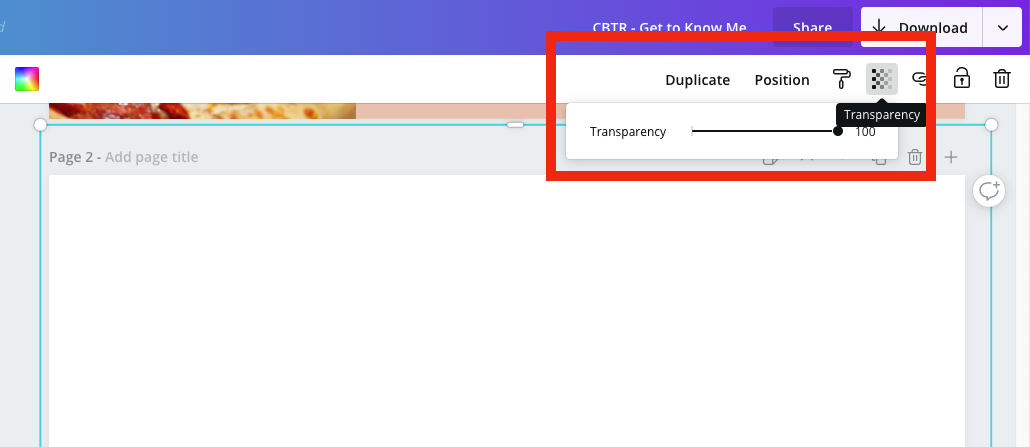
4. Exporting an image as transparent
Exporting an image as transparent is actually a pro feature that Canva is offering, but since you’re an educator, you can sign up for a totally FREE Canva for Educators account and get access to all the pro features.
Amazing news, right?
If you haven’t signed up yet, head here to sign up for your free account!
Anyway, back to the trick. Exporting a graphic as transparent is an awesome feature if you’re looking to export your image without a background color of any kind.
This is great for creating, for example, logos – as you can now drag the logo onto a worksheet, a poster, a design of any kind and there will be no background on the logo!
Here’s where you can find the option:
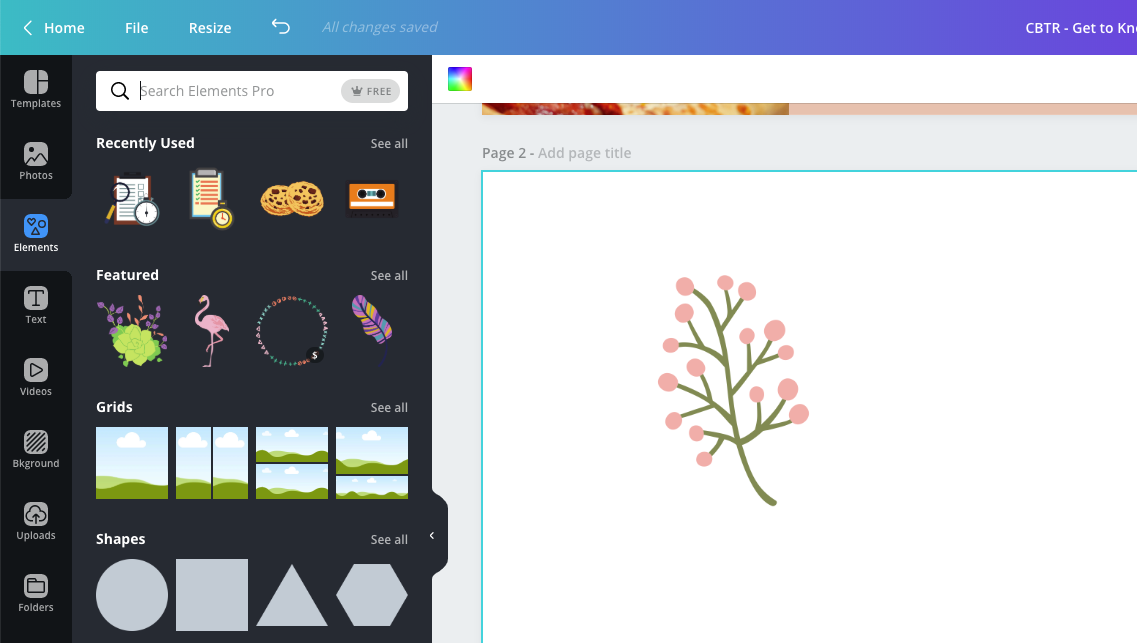
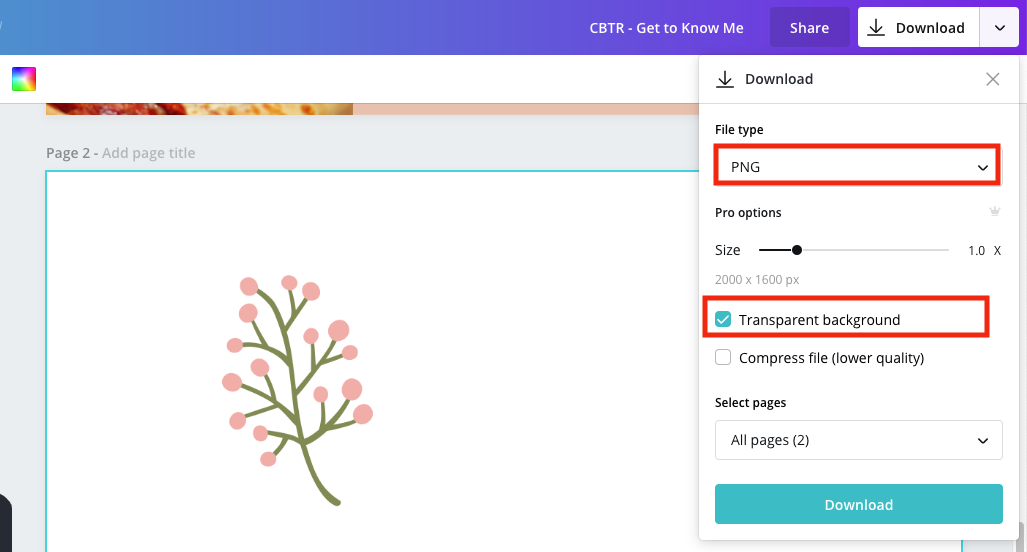
5. Exporting out an icon that you like
Let’s say you’re creating some powerpoint slides for a project in Google Slides and you find the PERFECT icon in Canva that you want to use, but you can’t find that icon anywhere else.
Guess what you can do?
Just export that icon out of Canva as a transparent image and use it anywhere you want to!
Step 1:
Put the icon on your image.

Step 2:
Delete the background color if there is one.
Step 3:
Export the image as a .png and make sure to tick the ‘Transparent Background’ option.
Step 4:
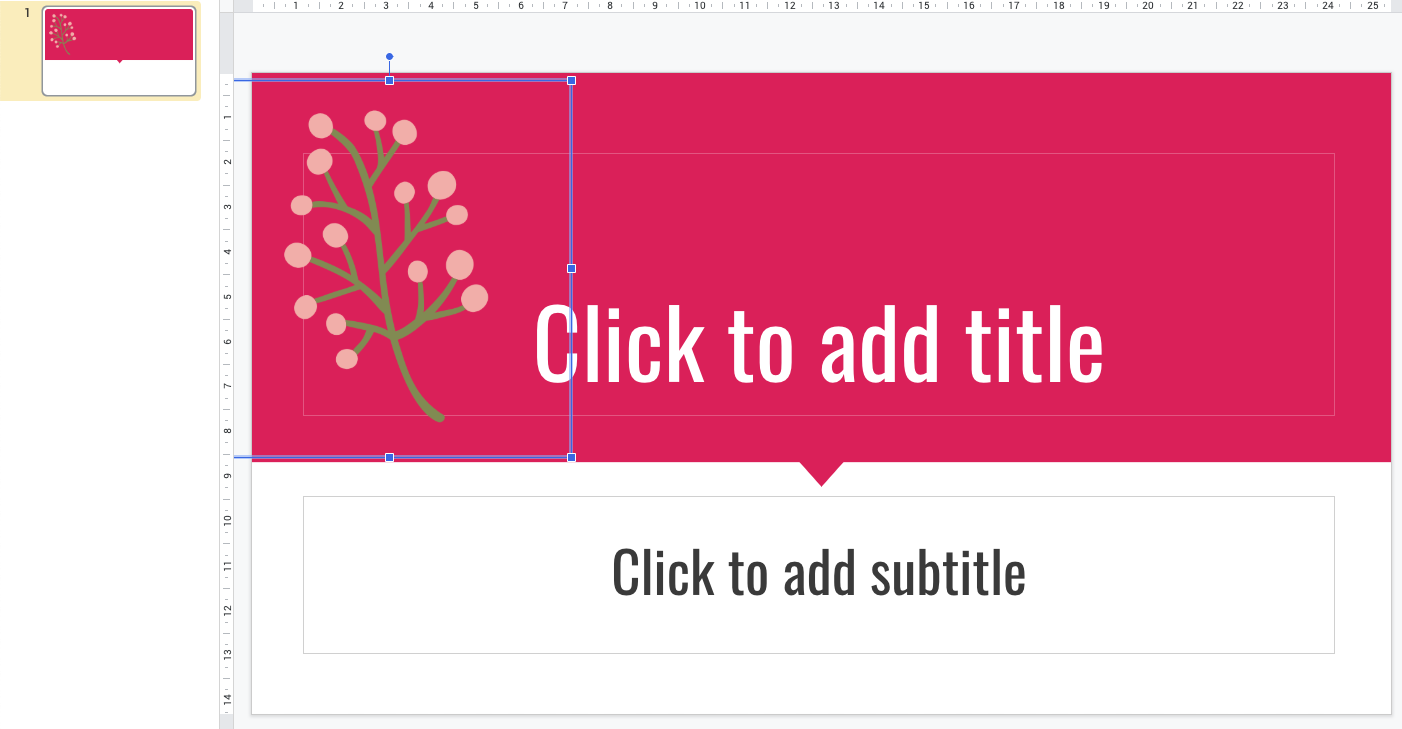
Ta-da. Now it’s transparent and has no background.

It’s hard to tell because it’s on a white background now, but if I add into a powerpoint or Google Slide… this is what it looks like!
Now go forth and add the icon to anywhere you’d like to.
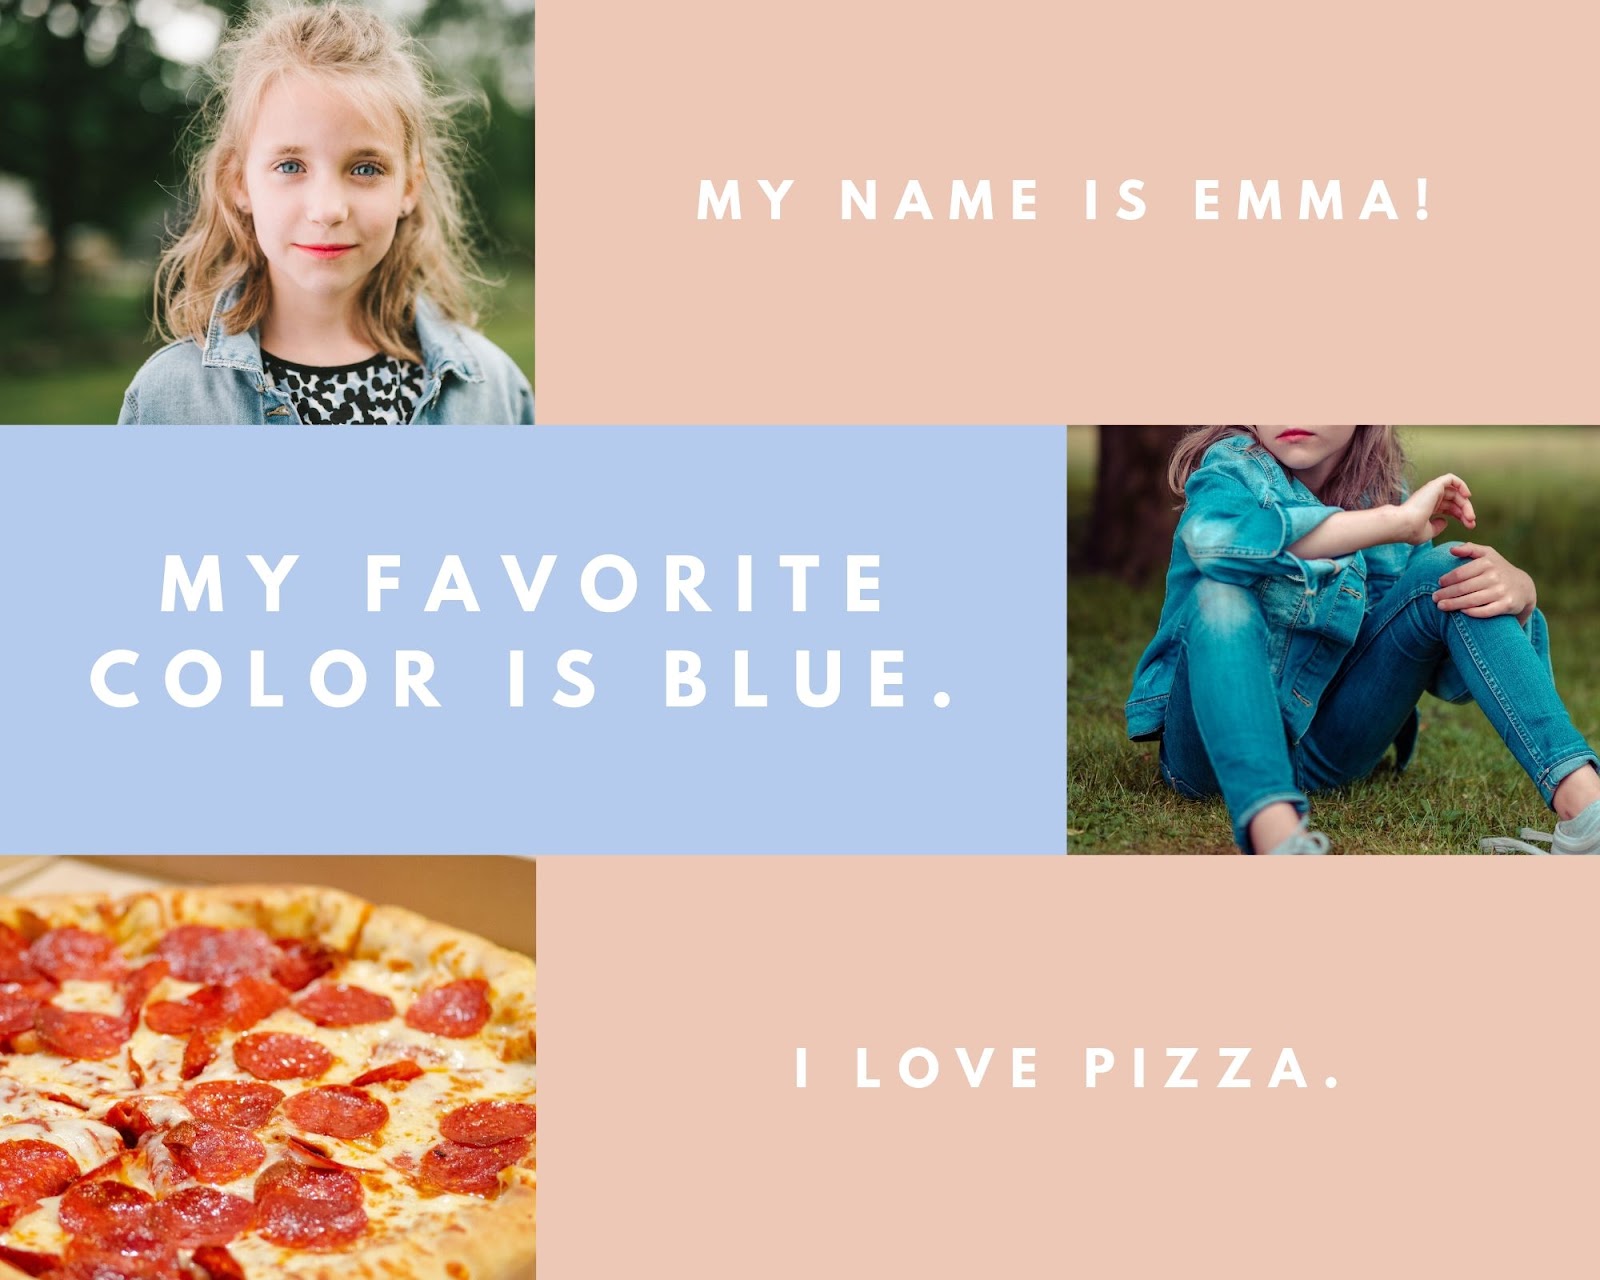
6. Use their collage frames
One fun thing that Canva has as an option is pre-defined collage frames; instead of having to drag your images around and arrange them yourself perfectly and neatly, you can have Canva handle all that fuss for you!
Pick a collage frame you like, and then just drag in the images you want to fill into that box.
You can find all their collage templates here. Here are some examples:

Voila! Here’s an example using one of the collage templates above.
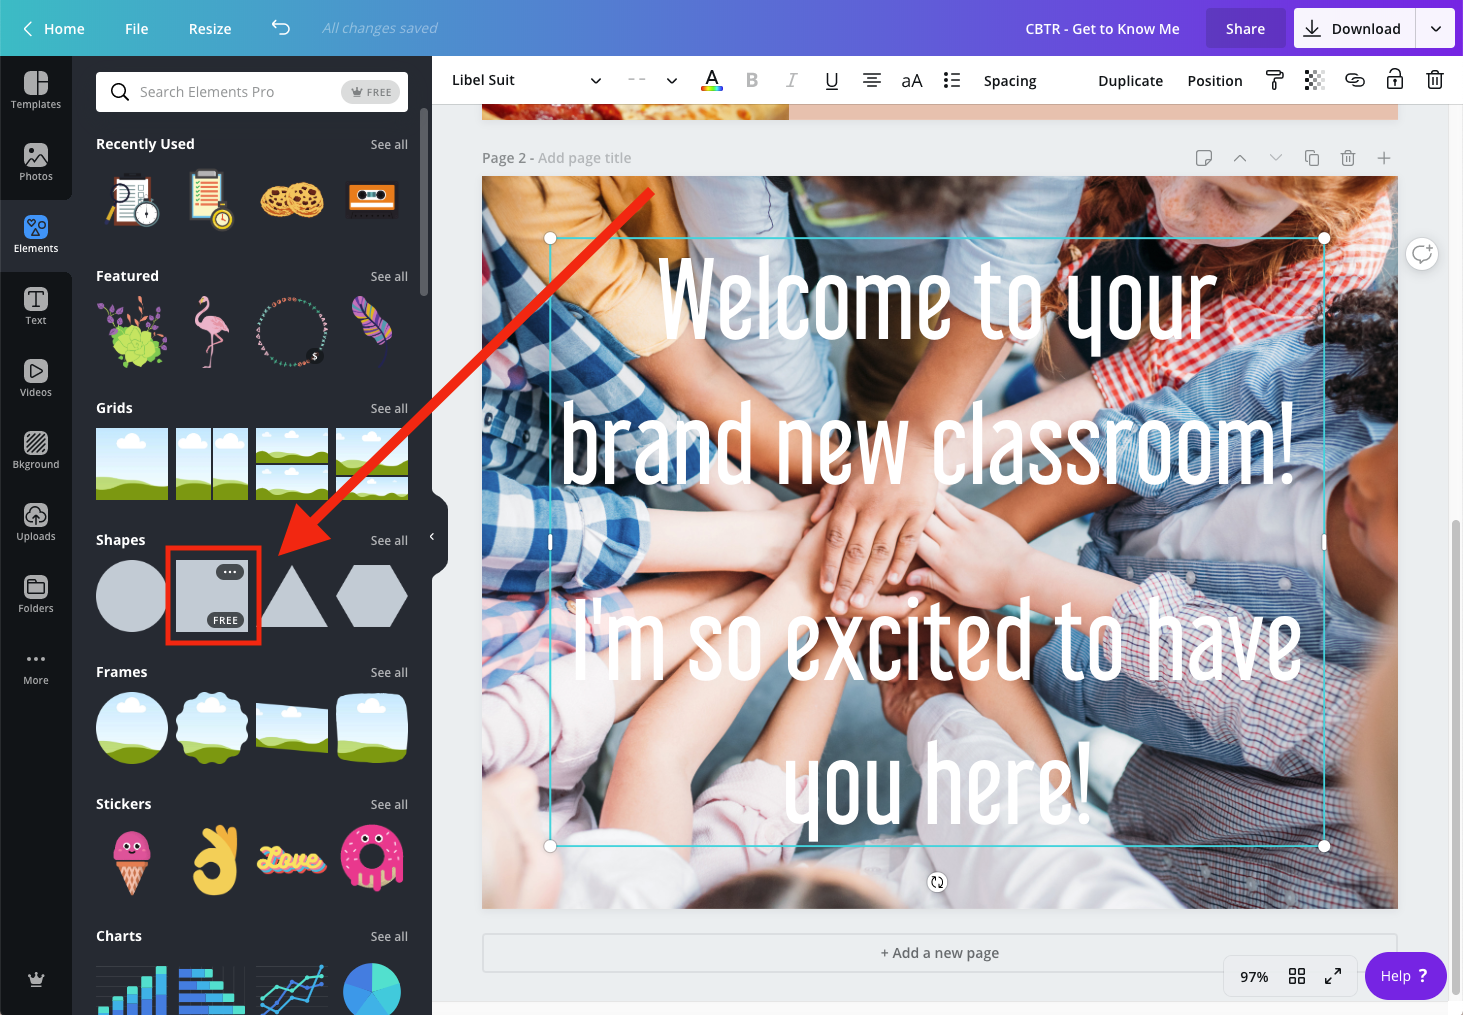
7. Using an overlay
If you’re wanting to put any sort of text on top of a busy image, I highly recommend using an ‘overlay’. An overlay is simply a shape that is filled in completely put OVER the image itself.
Here’s an example of a piece of text over an image that’s a bit hard to read!
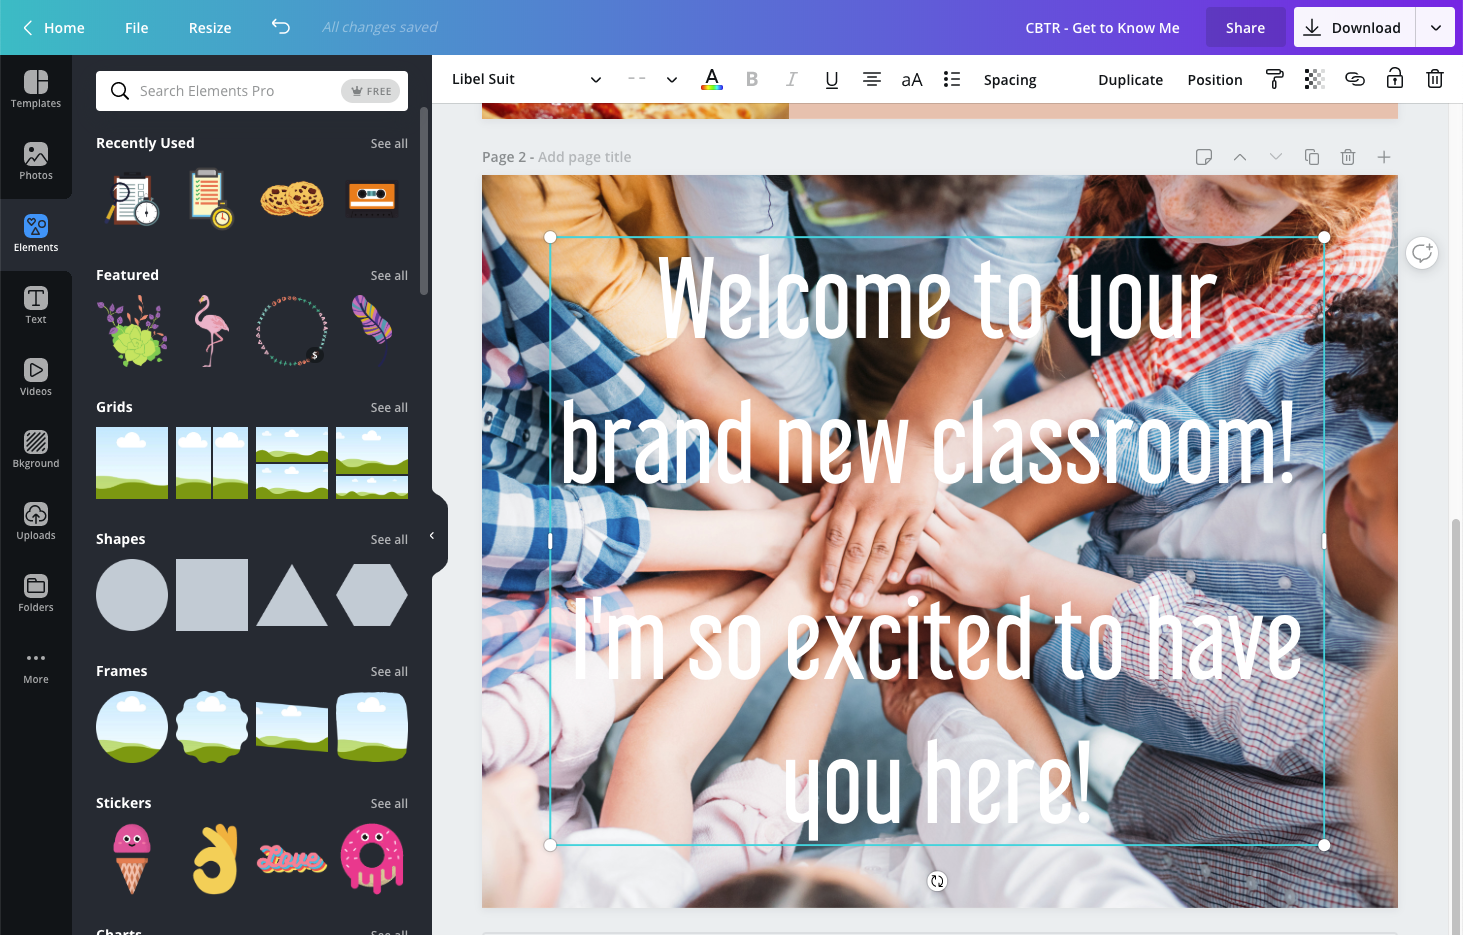
To create an overlay, simply click on the rectangle shape on the left hand side….
Change the color of the shape to whatever you want. Then… you turn down the transparency of the image a bit so that the image is a bit ‘muted’.
Finally, move the shape back, behind the text like so:
Voila!
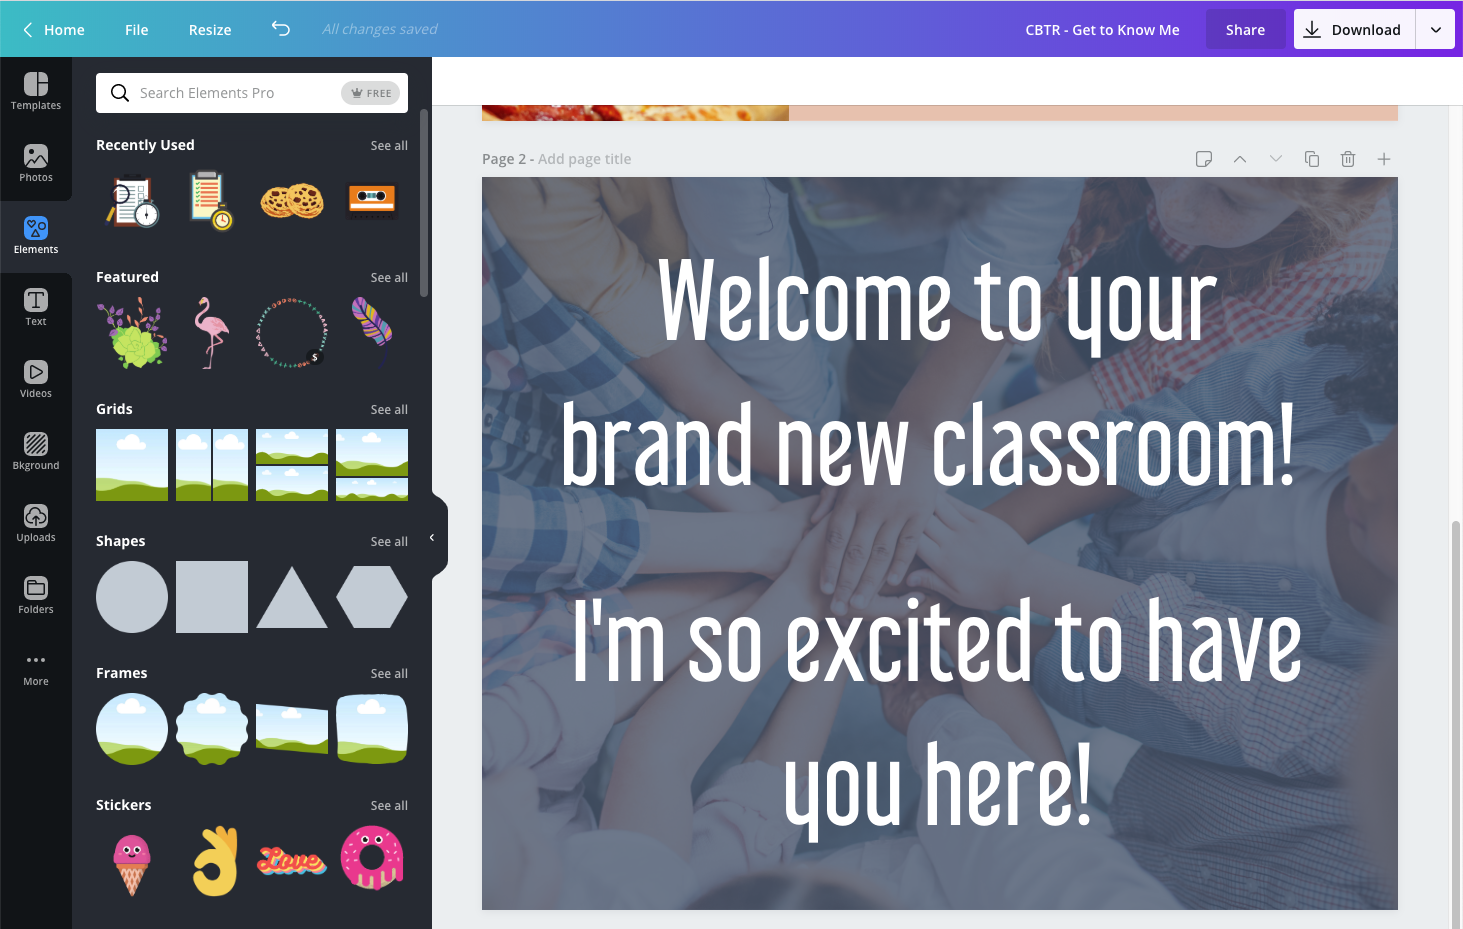
Isn’t that so much more readable and clear?
8. Seeing the entire overview
This fun tip is one I just discovered recently myself that I have been SO happy about it. It’s really the little things, isn’t it?
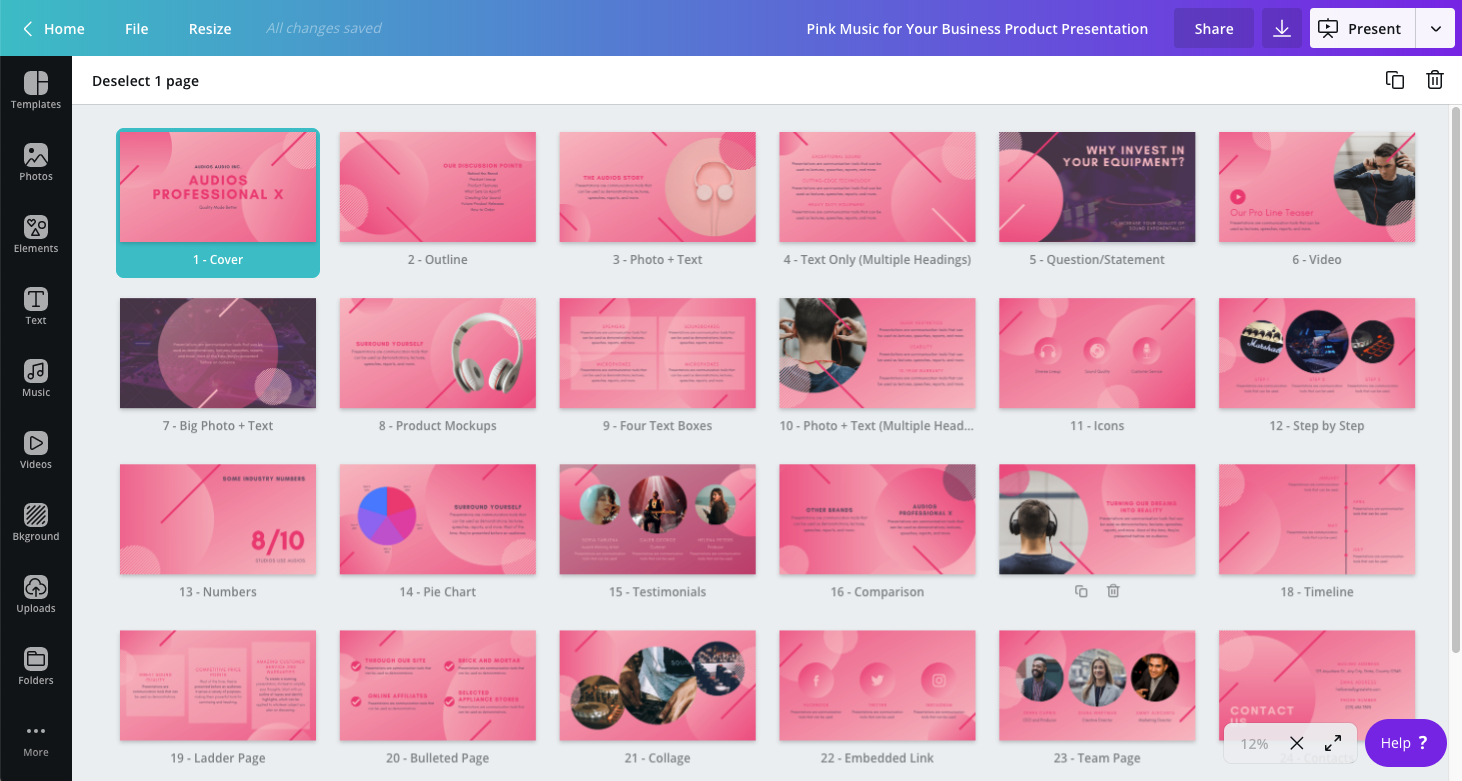
If you’re working on a Canva file that has many pages within it and you’re looking to get either an overview over all the graphics or to drag around the order of the slides quickly and easily.
I’m so excited to share this fun little “Page Manager” button with you!
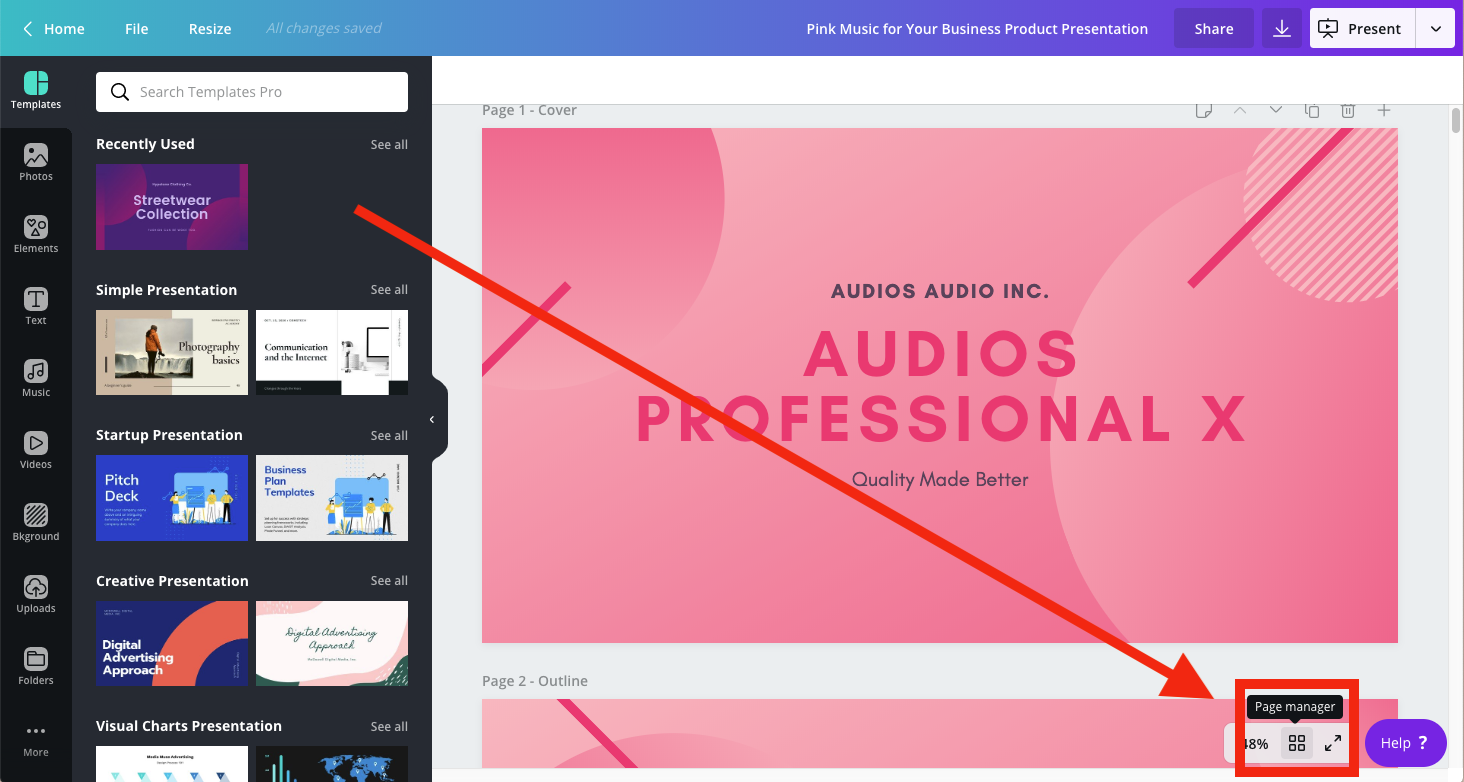
And that’s all – now you get this great overview plus you can drag around your slides or graphics freely!
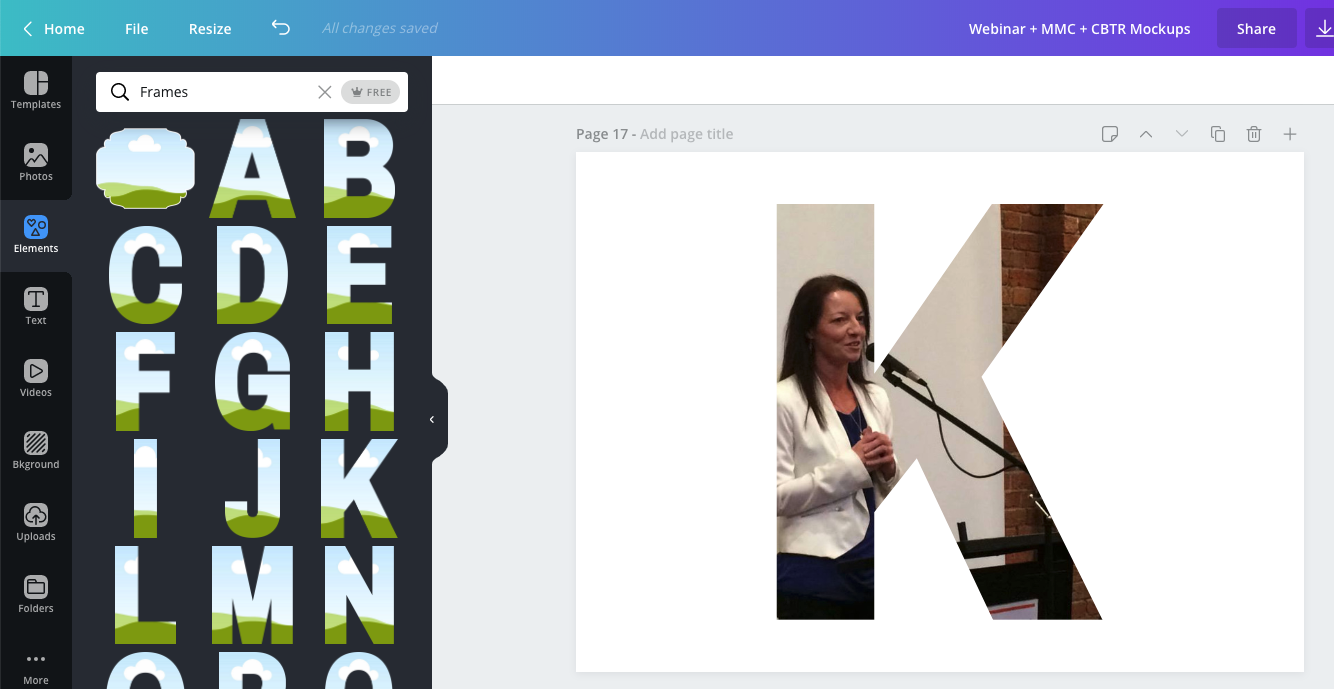
9. Text Masking
Another side tip is you can use Canva’s predefined frames as well to create fun little borders for your images within having to do any complicated Photoshop or editing!
Here are some frame options you can choose from:
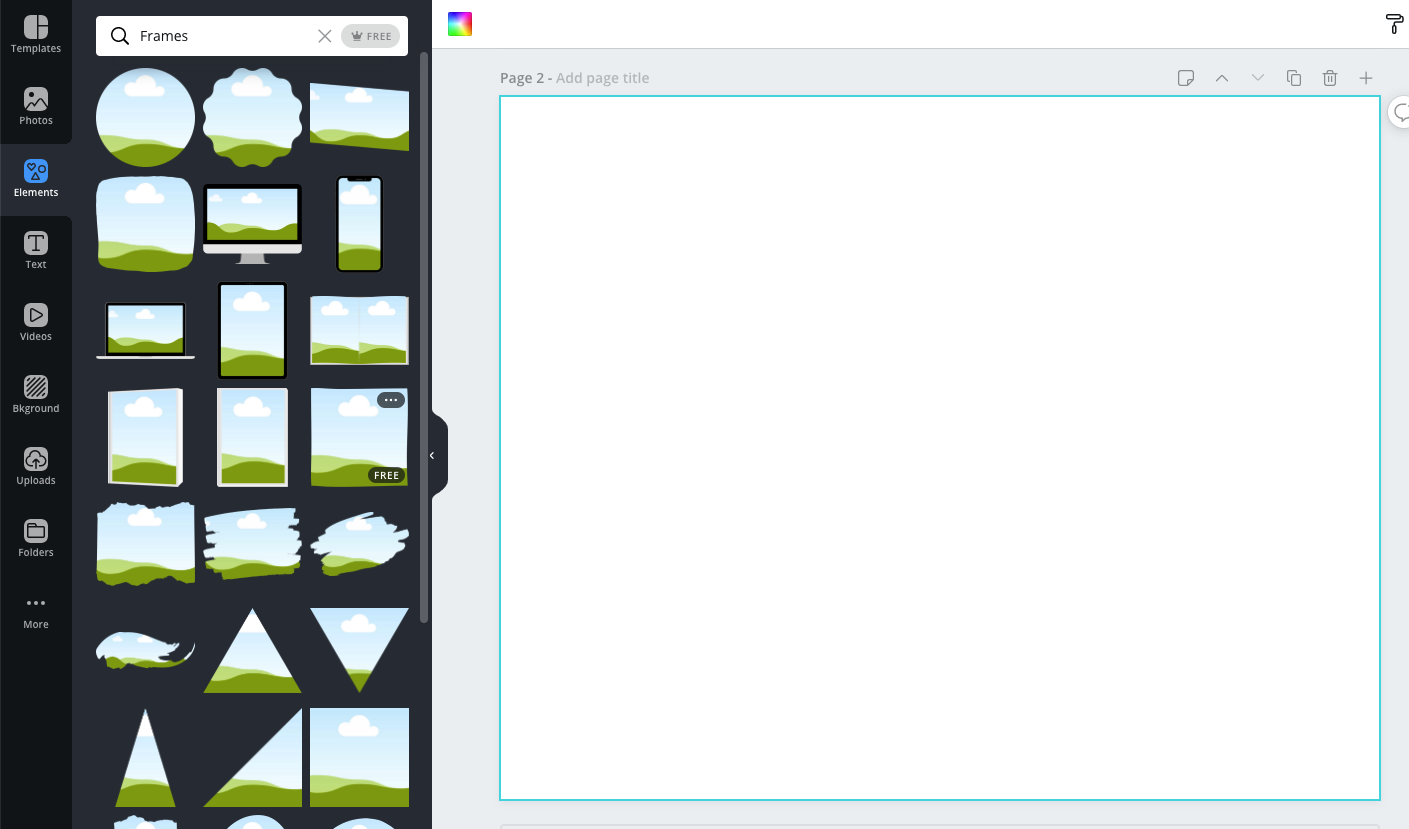
Here’s an example of a fun frame that you can use!

And one of the fun frames you can pick are alphabet letters…
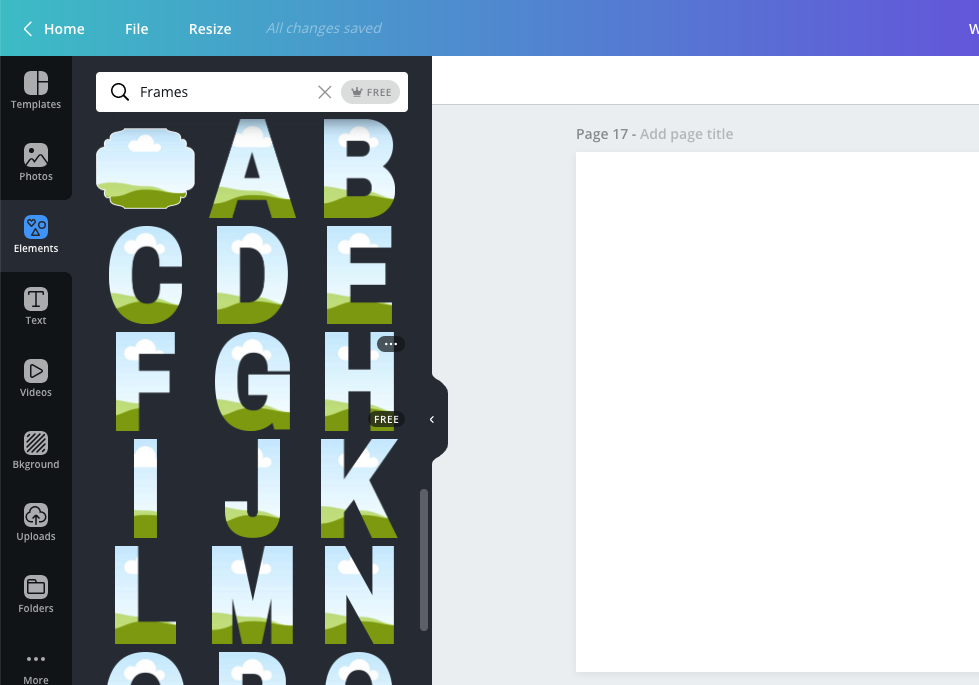
So you know I had to play around with this frame, and here’s one fun thing you can do when you drag in an image!
So those are a few Canva tips and tricks I’ve found in the past few years that I’ve absolutely loved. I hope you like these tips, too, and if you have any other ones to share – please let me know on Twitter or via our Facebook page!
And don’t forget… if you’re looking to create beautiful teaching resources, fast, I’ve got a full program coming out soon. You can check out all the waitlist details here.
Download your copy
Would you like to take a copy of this with you? Click the button below and a copy of this will be sent directly into your inbox.
Want more help with creating beautiful teaching resources?
Be the first to join my brand new course… “Create Beautiful Teaching Resources, Fast” Online Course!
Create Beautiful Teaching Resources, Fast is an online, self-paced course for teachers who want to create amazing resources for their classroom.
In this course, you will go from feeling overwhelmed, time-poor and lacking ideas to feeling like a smart, savvy designer who can quickly make custom teaching resources that are worthy of selling on Teachers Pay Teachers.
The Waitlist will get first access to join the course PLUS a special bonus upon joining the program! Join the waitlist to get exclusive, priority access.


One Comment
Great ideas, thanks 🙂